



Many people want veneers but feel nervous because they do not know what to expect. Understanding how porcelain veneers are done from start to finish takes away that worry. The process is straightforward, and most patients say it was much easier than they imagined.
This guide walks you through every step — in plain, simple language — so you know exactly what is coming.
What Are Porcelain Veneers?
Porcelain veneers are very thin shells made from a tooth-coloured material. They are bonded to the front surface of your teeth to improve how they look.
They can fix teeth that are
- Discoloured or stained
- Chipped or cracked
- Slightly crooked or uneven
- Gapped or misshapen
Veneers do not change how your teeth work. They simply make them look better — often dramatically so. If you are looking into veneers in Burlington, your dentist will assess whether porcelain veneers are the right option for your specific smile goals.
Step 1 — The Initial Consultation
Everything starts with a conversation. At your first appointment, a dentist near you examines your teeth closely. They check your gum health, existing dental work, and the condition of your enamel. Veneers require a small amount of enamel removal, so having enough healthy enamel is important.
During this visit, you will:
- Talk about what you want your smile to look like
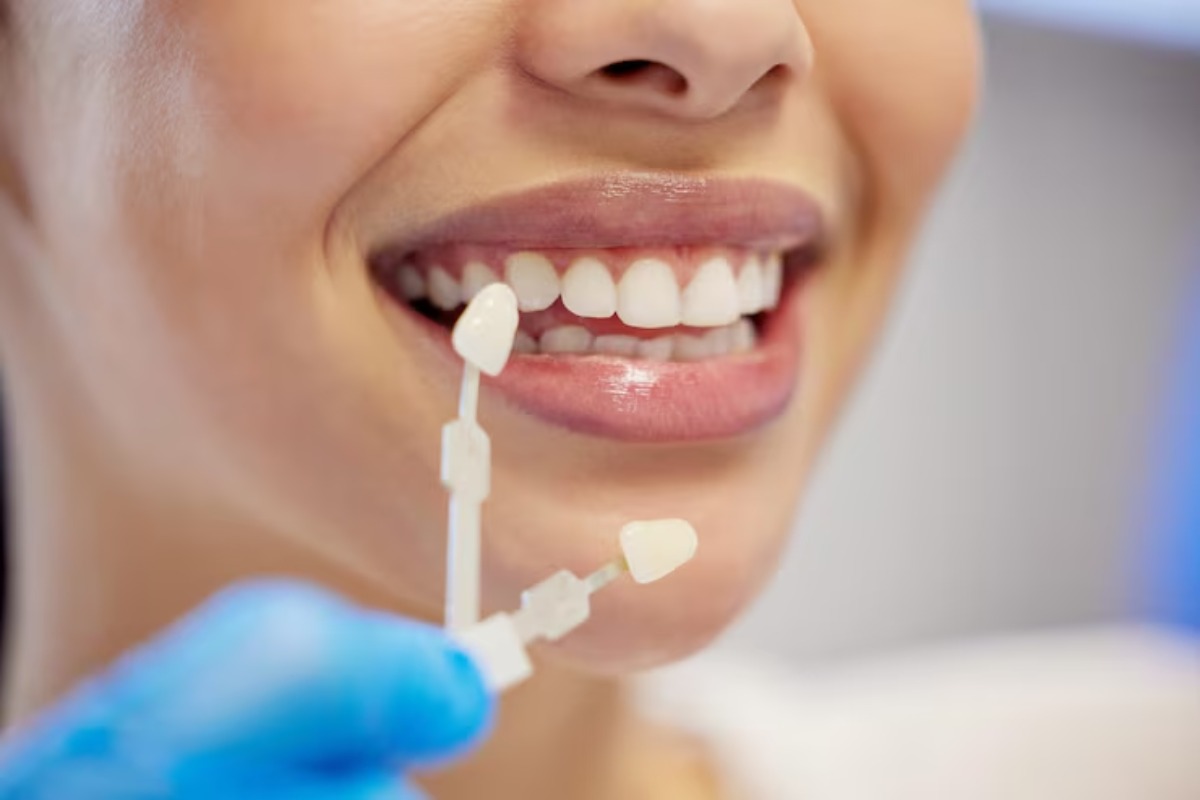
- Look at shade guides to choose the right colour
- Ask any questions you have about the procedure
- Find out if veneers are the best option for you
Your dentist may also take X-rays and photographs of your teeth at this stage. This helps them plan the treatment carefully.
Step 2 — Treatment Planning and Smile Design
Once you and your dentist agree to move forward, the planning begins.
Some clinics offer digital smile design, where you can actually preview what your new smile may look like before any work is done. This is a helpful step that lets you give feedback and feel confident about the result.
You’ll have a treatment plan with your dentist, who will know how many veneers you require, what teeth they should cover, and which shape and shade will best blend with your face shape and skin.
Step 3 — Tooth Preparation
This is the first hands-on step of the actual procedure.
Your dentist removes a very thin layer of enamel from the front of each tooth that will receive a veneer. This layer is usually less than one millimetre—roughly the same thickness as the veneer itself.
This step is done under local anesthetic, so you should not feel any pain. The removal of enamel is permanent, which is why the consultation and planning stages are so important.
After preparation, your dentist takes precise impressions — or digital scans — of your teeth. These are sent to a dental laboratory where your custom veneers are carefully crafted.
Step 4 — Temporary Veneers
While you wait for your permanent veneers to be made — which usually takes one to two weeks — your dentist places temporary veneers on your prepared teeth.
These temporaries protect your teeth and give you a preview of how your new smile will look and feel. They are not as strong as your final veneers, so during this period:
- Avoid very hard or sticky foods
- Be gentle when brushing around those teeth
- Let your dentist know if anything feels uncomfortable
Step 5 — Fitting and Bonding
This is the appointment most patients look forward to. When your permanent veneers arrive from the lab, your dentist places them on your teeth first without any adhesive. This is called a try-in. It lets you and your dentist check that the shape, size, and colour are exactly right. Small adjustments can be made at this stage before anything is permanently bonded.
Once both you and your dentist are happy, the process moves forward:
- Your teeth are cleaned and lightly etched to help the veneer bond strongly
- A special dental adhesive is applied
- The veneer is carefully positioned on the tooth
- A curing light hardens the bond in seconds
This is done one tooth at a time to make sure every veneer sits perfectly.
Step 6 — Final Checks and Polish
After all the veneers are bonded, your dentist checks your bite carefully. They want to make sure nothing feels off when you close your mouth or chew.
Any small excess adhesive is removed, and the veneers are polished to a smooth, natural finish.
At this point, you get to see your completed smile for the first time. Most patients are genuinely thrilled with the result.
Step 7 — Follow-Up Visit
A follow-up appointment is usually scheduled a few weeks after bonding.
Your dentist checks how your gums have responded to the veneers and makes sure everything feels comfortable. This is also a good time to ask any questions about caring for your new smile.
Finding a reliable dentist in Burlington who schedules proper follow-up care is a sign of a practice that genuinely looks after its patients.
How to Take Care of Your Veneers After the Procedure
The porcelain veneers treatment process step by step does not end at the dental chair. Good habits at home keep your veneers looking their best for years.
Here is what helps:
| Good Habit | Why It Matters |
| Brush twice daily with a soft toothbrush | Keeps veneers clean without scratching |
| Floss every day | Protects gum health around the veneer edges |
| Avoid biting nails or hard objects | Prevents chipping |
| Wear a nightguard if you grind teeth | Protects veneers from grinding pressure |
| Visit your dentist regularly | Allows early detection of any issues |
| Limit staining drinks like coffee and red wine | Keeps veneer edges from discolouring |
With the right care, porcelain veneers can last well over ten years.
Your New Smile Is Closer Than You Think — Orchard Family Dentistry Can Help
The porcelain veneer process is carefully planned, comfortable, and designed to give you results that look completely natural. Each step builds toward a smile you will genuinely love.
At Orchard Family Dentistry, the team takes the time to understand what you want and guide you through every stage with care and honesty. If you have been thinking about veneers and want to find out if they are right for you, now is a great time to take that first step. Book a consultation today — your smile transformation starts with one simple conversation.
Frequently Asked Questions
Is the porcelain veneer procedure painful?
Most patients feel little to no discomfort—a local anesthetic is used during tooth preparation, so the process is comfortable.
How many appointments does the full veneer process take?
Most patients need two to three appointments from consultation to final bonding, spread over two to three weeks.
Can veneers be removed once they are placed?
Veneers are considered a permanent treatment because a small amount of enamel is removed during preparation, so the teeth will always need to be covered.
How long do porcelain veneers last?
With proper care and regular dental checkups, porcelain veneers typically last between ten and fifteen years or longer.